EinScan
Project Summary
EinScan 3D scanning techniques and assets
Project Details
begin vase
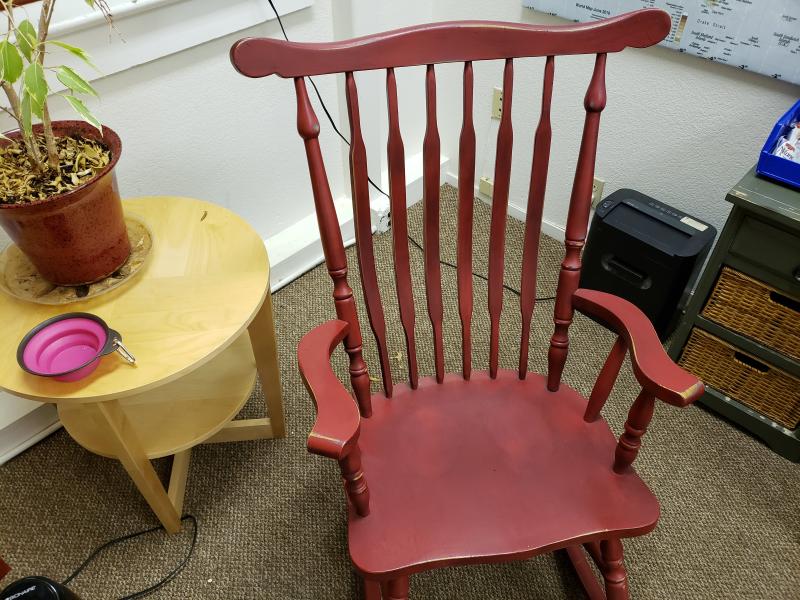
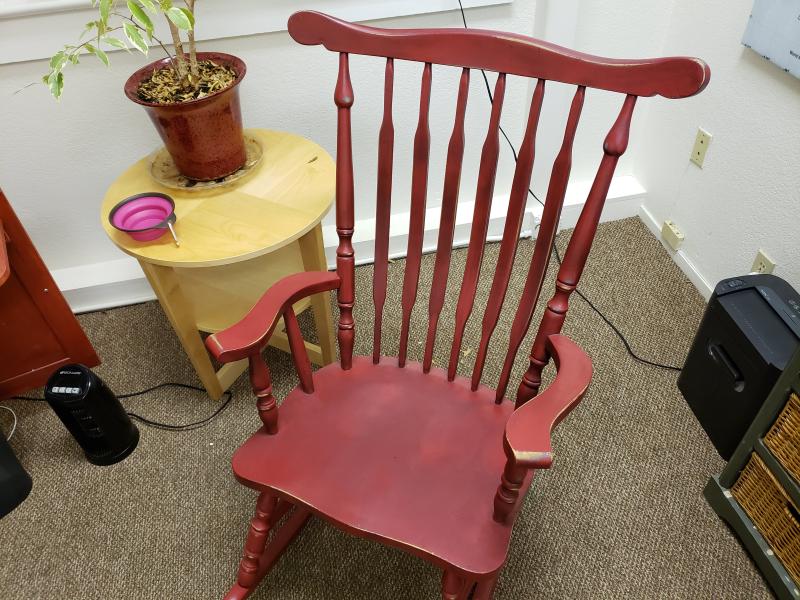
begin red cup
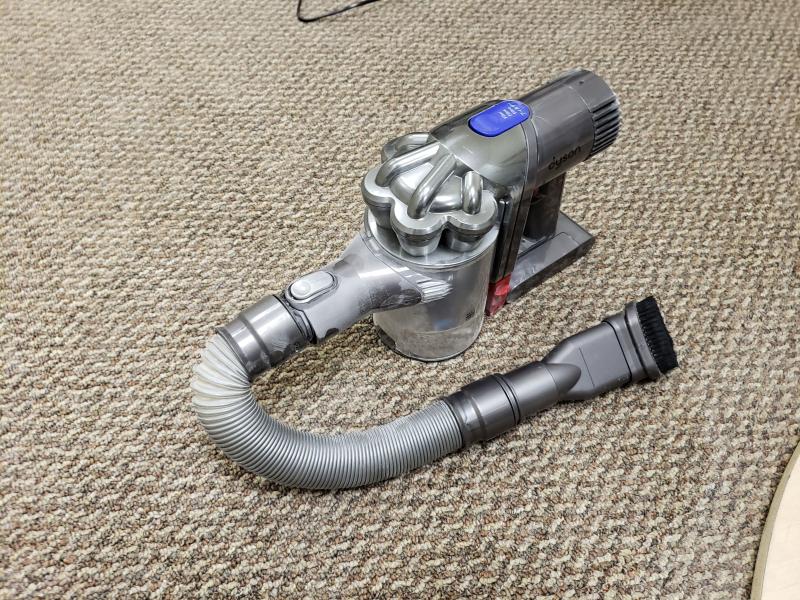
begin vacuum
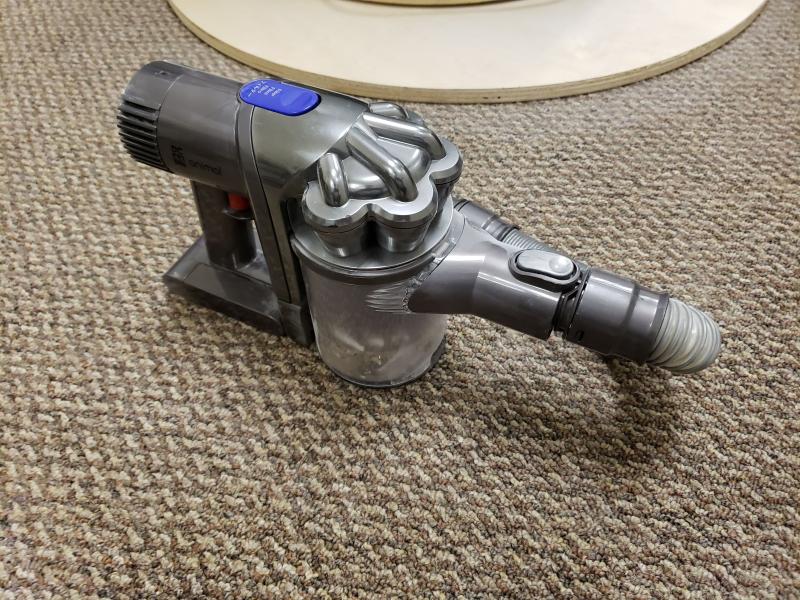
begin vacuum no bottom
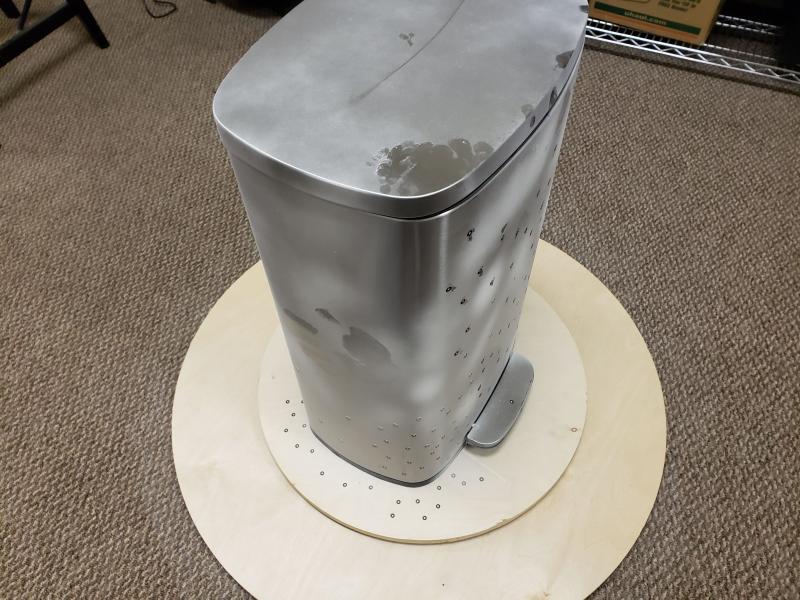
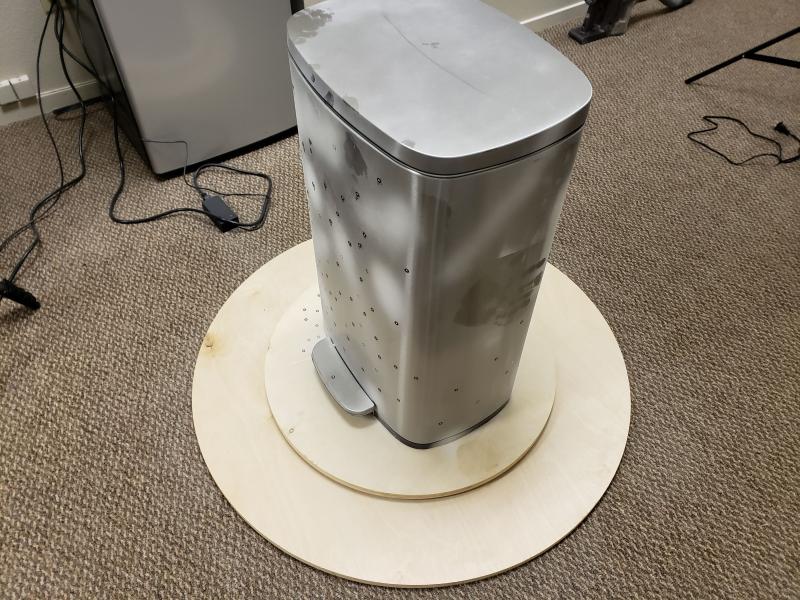
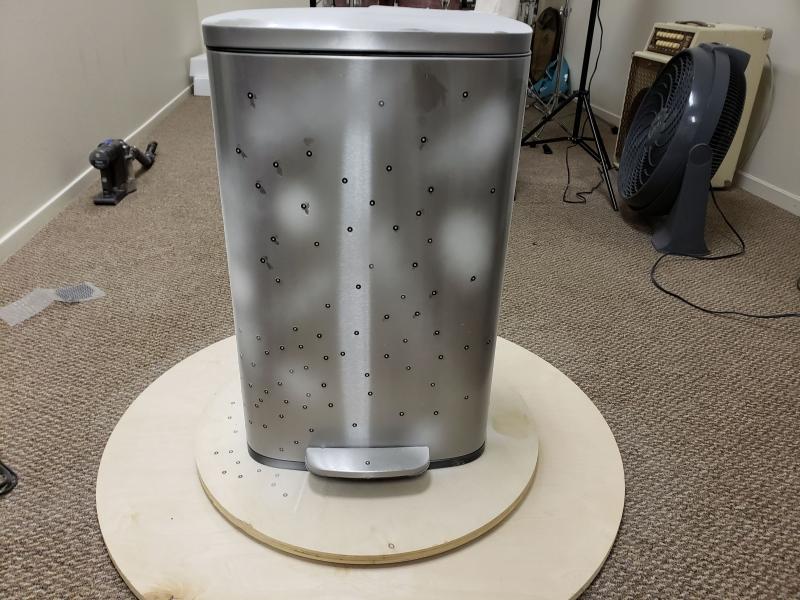
Glossy silver trash can
Bottom layer:
- Works best when scanner is horizontal with texture camera on top
- Angle at around 45 degrees
- Make sure to get the ground around the trash can through the whole scan
- Circle around before scanning to make sure there are no spots that are too close
- The markers did not help as much as having the ground in the scan
- The white spray helped out a bunch as well
- Make sure to not coat the whole item evenly
- Make random patterns and dots to help with the scan
Next layer:
Things that haven't worked:
- Scanner vertical then tilted around 45 degrees away from the texture camera
- Whole tripod setup exactly the same as bottom layer except shifted up
- Worked well until the first corner then the stitching kept shifting up randomly
- Tried using smaller steps but would still shift up a bunch around the same spot every time
Things that kind of worked:
- Holding the scanner and going up and down from bottom to top then shifting over a little bit
- Would work for one or two columns but then the stitching would fail and it would shift up or down and ruin the whole scan.
- Holding the scanner and going left to right then up around half of the scan height
- Held the scanner horizontal at around 45 degrees
- Would look great at the top and bottom of the trash can but the mid section would be shifted to make the trash can look longer than it is
- Holding the scanner and going left then up a couple inches then right and up a couple inches
- Worst one of all three
- Elongated the mid section of the trash can so it was extremely tall
Things to try for next time:
- More spray?
- Have scanner on tripod, full circle around trash can, shift up a third of the scanning height and repeat
- Spiral action with tripod on lazy susan
- Repeat tests that were done while holding the scanner with a tripod that can adjust to the desired height
- Top down instead of bottom up
- Scan each side against the ground then crop the ground out?
What I Have Learned
- Works best horizontal with texture camera on top
- Same orientation as if you were using the fixed scan with the tripod
- Tilt scanner to around 45 degrees for glossy objects
- Non-glossy objects it is not necessary to tilt scanner, and it will take longer to scan if tilted
- This allows less reflection to go straight back to the scanner
- As far as I can tell you can test this with the preview. If you have the scanner around 45 degrees more green will show up, where when you have the scanner parallel with the ground then less green will show up on the preview
- Green is what the scanner is recording, so the more there is the better.
- As far as I can tell you can test this with the preview. If you have the scanner around 45 degrees more green will show up, where when you have the scanner parallel with the ground then less green will show up on the preview
- Lazy-Susan Techniques:
- Have part of the table or ground in the scan at all times
- With the preview on circle around the object fully to see if there are any spots that are too close or too far.
- You can also see if part of the ground is in the scan the entire time